Table of Contents
I am an Izzet mage at heart. I love cheap threats, backed up by interaction, with the draws smoothed out with cantrips. I tried to find a way to port this gamestyle to Standard and, happily, I did it. Here I present to you Izzet Tokens! Why tokens? While this format is very interactive and you see a ton of Go for the Throat, Abrade, Cut Down, and Lay Down Arms, actual mass removal effects are pretty scarce. Decks are not equipped to handle an army of 1/1s.
When I started testing this shell I looked something like this.

However! I tried to channel my inner control mage and made important deckbuilding and gameplay changes. I no longer lost to Sheoldred thanks to Fading Hope. I traded efficiently thanks to Spell Pierce. Most importantly though, I stopped getting my creature killed on turn two, because…I stopped playing it on turn two altogether! It turned out the golden recipe was to play a waiting game and deploy Third Path Iconoclast when it’s safe rather than hope the opponent won’t have it. It made all the difference. Having realised what I’d been doing wrong, I went on a 10-1 streak – I was over the moon. The result of all the pondering you can see in the decklist below. Currently, it’s my favourite deck in the format, hands down.
If you want to see the deck in action or watch other arena decks, visit my YouTube channel.

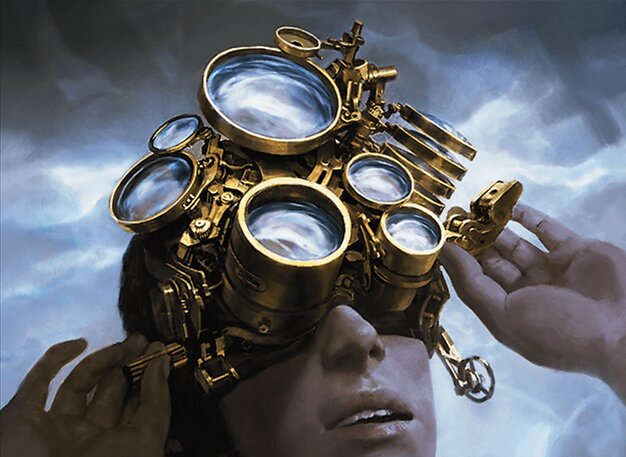
Planeswalkers (3)
Instants (20)
Sorceries (4)
Enchantments (4)
Lands (22)
60 Cards
$186.66
Sideboard
15 Cards
$20.33
Deck Tech
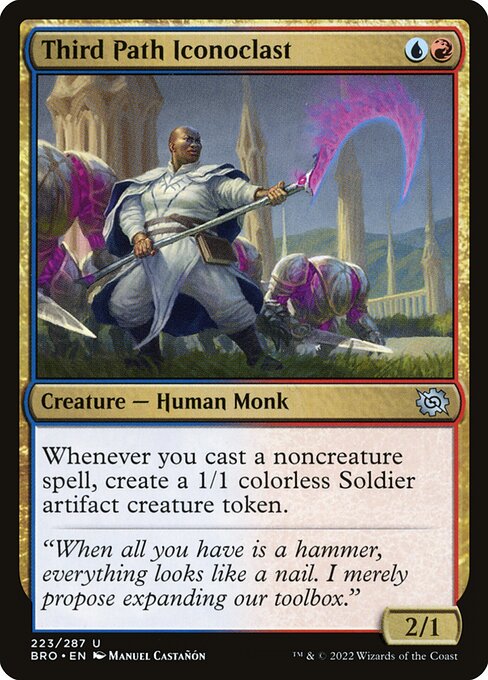
This uncommon is the whole reason why this deck exists in its current form. The fact that it makes tokens off of any noncreature spell is huge, mainly because it’s impossible to play a red deck without Fable of the Mirror-Breaker. It enables curves like Iconoclast into Fable on turn three, where you get both a 1/1 and a 2/2 Shaman token. Great to thwart early pressure.
As mentioned in the intro, my winrate skyrocketed when I stopped blindly slamming it on turn two in the hopes of it surviving. It’s best to be able to hold up Spell Pierce or Shore Up. Importantly, playing Iconoclast out with one non-protection spell backup like Consider isn’t that good as a single 1/1 token made off it won’t make or break the game. However, there will be spots where you ought to blatantly deploy it as early as you can. Those will mostly be the games where your opponent starts with Island, Seachrome Coast, or Razorverge Thicket. Whenever I see black or red, I will be very cautious of running my Monk out.
The fact that those tokens are artifacts is not only relevant but integral to the whole plan. You can sacrifice them to Gleeful Demolition, draw a card off with Saheeli, Filigree Master, sacrifice them to Voltage Surge. So much is enabled thanks to them having this card type.
Balmor, Battlemage Captain is usually associated with Wizards strategies that are super aggressive. While this shell is linear, it’s not nearly as aggressive as those Wizards decks. However, Balmor offers a unique effect that makes it miles stronger here than elsewhere. Balmor pumps all the creatures by 1 point of power with each instant or sorcery cast and gives them trample. All the creatures. Token deck. Profit.
While you might play it on turn two, I like having it in my hand for later, as a combo-esque finisher. The play pattern would like like this:
- You play a back-and-forth game
- At some point, you’re able to generate 5+ creatures
- On a single turn, preferably when the opponent is tapped out, you play Balmor and immediately follow it up with 2-4 spells
- Attack for a ton of damage
When opponents calculate damage, it’s super tough to factor in Balmor’s buff. In this version, there are 24 spells that trigger it, so you won’t be short on those.
In short, Balmor is a late-game effect that enables turns where we overwhelm the opponent and can alpha strike for way over lethal.
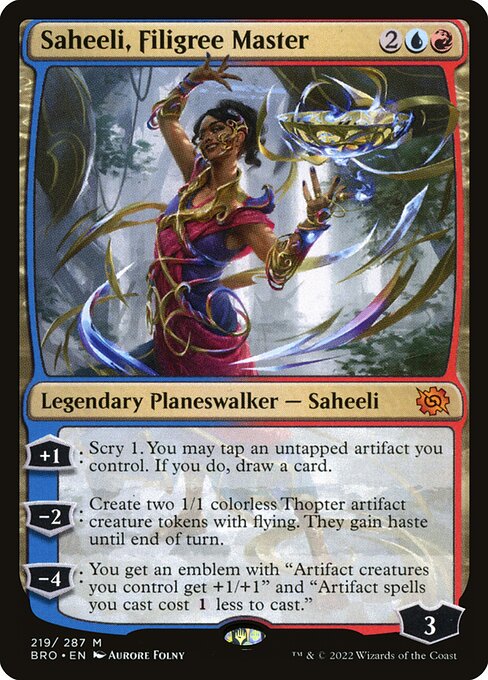
She might be the best planeswalker for this shell. We generate artifacts and can tap them to draw a card. She makes artifact tokens with flying. She buffs all the artifact creatures. Every single ability is relevant.
In most games you will be faced with a simple decision tree. If you’re behind on board, you’ll make two tokens to chump the attack and allow Saheeli to stay alive. If you’re ahead, you will plus to draw more cards. Sometimes you will be both ahead and close to actually winning the game. At that point, you might go for tokens just to push through lethal. It’s especially relevant with Balmor and those tokens fly and have haste, so they immediately benefit off Balmor’s triggers.
There are games where I ultimate Saheeli but I need to be sure that I won’t run out of gas. After all, she’s a great personal Howling Mine and that’s an effect that’s hard to pass up.
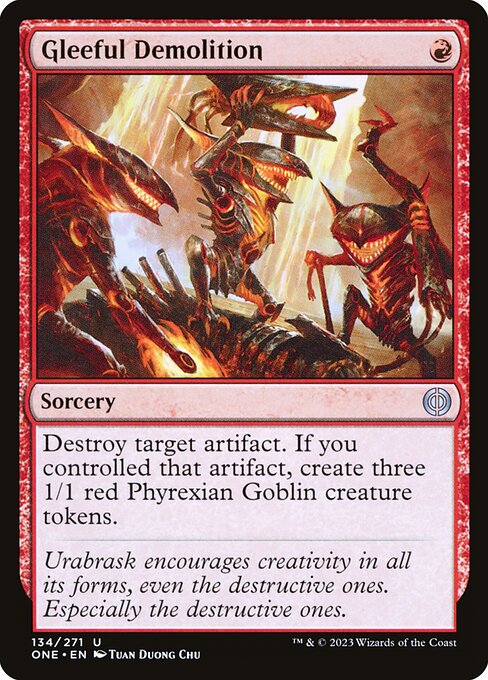
Gleeful Demolition is a great way to flood the board fast. While the tokens themselves won’t accomplish much, they are a piece of the overall puzzle. Crucially, they are not artifacts, so they won’t have synergies with some cards.
Still, they get buffed by Balmor and can bridge the gap between the early and mid game. It’s fine to use them defensively.
What’s interesting is that the wording on this card makes tokens only if your artifact is destroyed this way. This implicitly suggests that you can use it as Shatter against opposing artifacts. It has actually come up multiple times for me! I felt great destroying opposing Reckoner Bankbuster on turn two. Don’t overlook this interaction, as it may save you from a dire situation.
The most common targets for Demolition are Iconoclast tokens and Treasures made by Goblin Shaman.
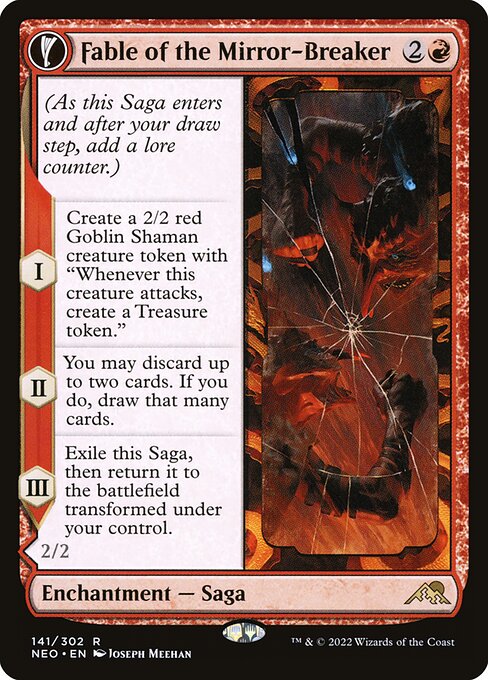
If Fable of the Mirror-Breaker is playable in all the red decks, then it’s especially powerful in a tokens deck. Fable does a ton here. First, it helps you generate artifacts that have obvious synergies with other cards. On top of that, if you attack with Goblin Shaman on turn four, it gives you access to five mana. It’s key, as it allows you to deploy two two-drops and hold up Shore up or Spell Pierce or slam Saheeli, Filigree Master and have Spell Pierce backup.
The filtration that the second chapter provides ditches you the redundant lands or mismatched answers to the threats presented e.g. Voltage Surge against a control deck or Shore Up against a linear strategy.
Flipped Fable has one important job and that’s to copy Third Path Iconoclast You make a copy of the Monk and then play a flurry of spells, yielding twice as many tokens as it normally would.
Spells
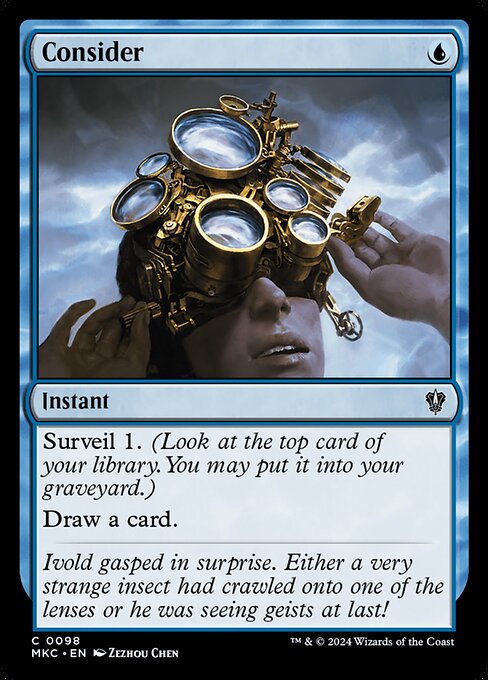
Consider is the best cantrip we can hope for currently in Standard. As both Balmor, Battlemage Captain and Third Path Iconoclast care about casting spells, we want to be able to play those for one mana. On top of that, they exchange for another card, so we basically spend one mana to trigger our creatures and get a bit of card selection in. We won’t always want to have multiples, as they don’t affect the board if there aren’t any other creatures already. On top of that, keeping a hand with a lot of those effects is an unknown. On the one hand you can try to find the effects you need, but the fact that there is no guarantee on whether you’d get them is a big no-no.
I added Timely Interference purely as another cantrip effect. I wanted to increase the density of spells that I can throw away left and right just to synergise with the creatures. Decreasing power of an opposing creature by 1 is not irrelevant and sometimes will win you in combat. However, I’d treat it as Reach Through Mists most of the time.
This is one of the most important additions to the deck. It can save your creature from removal, it bounces Sheoldred, the Apocalypse, and provides scry 1 when you need that bit of card selection. I wouldn’t fault anybody for going up to full four copies. This card has been excellent.
Don’t use it willy nilly though, since it’s technically card disadvantage. Use it responsibly.
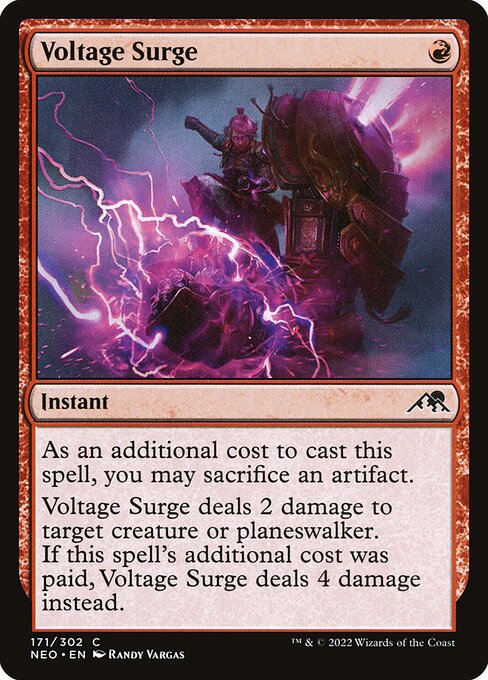
We generate a ton of expendable artifacts so in a lot of cases it’s deal 4. It excels at killing off Planeswalkers or annoying blockers like Corpse Appraiser or Serra Paragon.
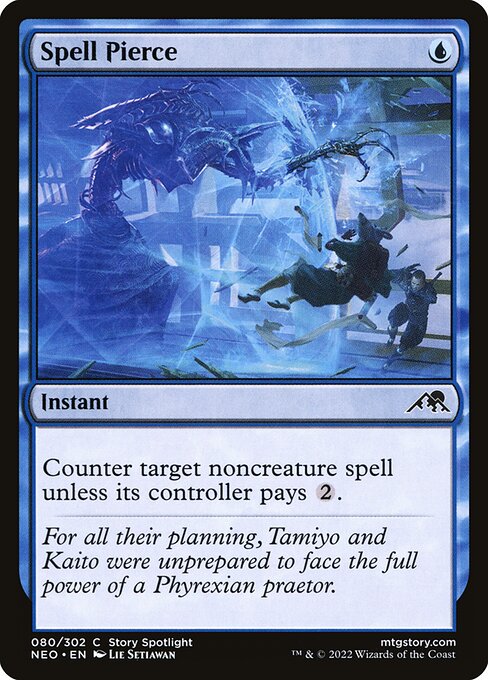
My beloved Spell Pierce. I tingle every time I get to put Spell Pierce in the deck. This deck takes full advantage of it. The two main uses are:
- Protecting Third Path Iconoclastor Balmor, Battlemage Captainfrom removal
- Getting a mana positive exchange against opposing top-end spells like Invoke Despair
- Countering a mass removal spell like Depopulate
It catches people off guard in game one, especially if it’s cast off a Treasure. Opponents let their guard down when they see someone’s lands tapped.
You can use it to push through your own spells against opposing countermagic but it happens much more rarely, since not a lot of decks play counterspells.
Shore Up is another card that I might consider playing more of. The fact that it unconditionally saves our threat is huge. It usually does it in a mana-positive way, as it will counter two-mana removal like Abrade or Go for the Throat. You can get tricksy with it and untap a creature to block theirs.
This might be the flexiest of slots. The fact that it counters creatures allows us to never let Sheoldred, the Apocalypse, Serra Paragon, or Corpse Appraiser onto the battlefield.
In a token deck like this, pulling off Casualty 1 is also trivial. Turning it into ‘pay 4’ effect makes it even better than Mana Leak.
However, this deck is all about efficiency. I could see cutting it completely and adding more Shore Up, Spell Pierce, or Fading Hope.
Best of One

Planeswalkers (3)
Instants (20)
Sorceries (4)
Enchantments (4)
Lands (22)
60 Cards
$186.66
The version of Best of One is aligned with the main deck of the Best of Three version.
Budget


Instants (26)
Sorceries (4)
60 Cards
$38.76
It was relatively easy to turn it into a budget deck, as the core is comprised of uncommons and commons anyways. However, if you can spare wildcards on Fable of the Mirror-Breaker, you will upgrade the deck meaningfully.
Matchups and Sideboard Guide

Grixis Midrange
In game one, they see us playing small creatures that are easily killable and a horde of tokens. I foresee even more Abrade and Cut Downs being sided in to combat Third Path Iconoclast. With that in mind, I side in two strong threats that dodge small creature removal. Lier, Disciple of the Drowned is a killer late game, especially in conjunction with Shore Up. They will have a super tough time killing it.
The most important tip here is not to just play your Iconoclast on turn two. It will die. It just will.
Mono White Midrange
| IN | OUT |
|---|---|
| +2 Lier, Disciple of the Drowned | -3 Fading Hope |
| +2 Negate | -2 Gleeful Demolition |
| +1 Disdainful Stroke |
I am not siding in Tolarian Terror here as a single Ossification can get rid of it. However, strategy is largely similar, as we want to go wider than they do. The biggest difference is that I expect them to have Farewell, Depopulate, or otherwise some mass removal. That’s why I side in Negate– it’s imperative to counter such a spell. It also catches The Wandering Emperor which is also pretty strong.
Azorius Soldiers
| IN | OUT |
|---|---|
| +2 Obliterating Bolt | -3 Spell Pierce |
| +3 Strangle | -2 Make Disappear |
Classic swap. Countermagic out, removal in. This usually happens when you face aggressive creature decks and it’s no different here. We can easily clog up the ground with tokens. There is one particularly scary card and that’s Harbin, Vanguard Aviator. The fact that their creatures could get flying is lights out for us in a stalemate situation. As long as you can remove Harbin, you should be good. It’s also one of those matchups where I will happily run out Third Path Iconoclaston turn two.
Shore Up will protect your creatures from Brutal Cathar but might also act as a pump spell in combat.
Mono Red Aggro
| IN | OUT |
|---|---|
| +2 Obliterating Bolt | -3 Spell Pierce |
| +3 Strangle | -2 Make Disappear |
Similarly to the matchup above, we switch countermagic with removal. We want to assume a control role. You have to stop their aggression as much as you can so that you don’t get burnt out later. A common play pattern is trying to stay alive early and at some point finding the key window to turn the corner. It will frequently involve Balmor, Battlemage Captain Mono Red is bad at blocking so if you think you can go for it, go for it.
Izzet Tokens Mirror
This game will revolve around Balmor, Battlemage Captain Bear in mind that if they deploy theirs and you try to kill it, they can stack up as many instant speed spells and hence Balmor triggers as they want. That’s why you should hold your Balmors until they are safe e.g. Shore Up backup or you know you can go for the kill.
Tips and Tricks

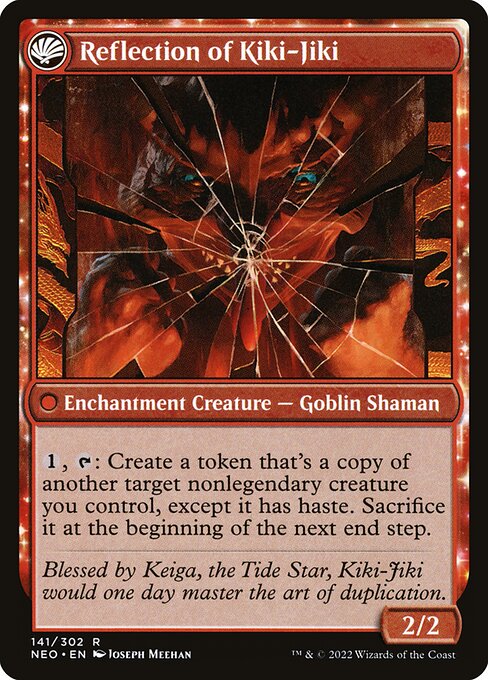
- You can untap Reflection of Kiki-Jiki with Shore Up to use its ability again.
- Mirrex tokens are artifacts so they interact with Voltage Surge or Gleeful Demolition.
- You can attack with Goblin Shaman, make a Treasure, and then cast Voltage Surge and sacrifice that Treasure to kill a big blocker.
- If you play against creatures with ward, it’s often correct to cast Timely Interference on your own creature just to draw a card.
- If your opponent kills your only artifact in response to Saheeli, Filigree Master first ability, you won’t be able to draw a card.
- Always remember that Third Path Iconoclast triggers off any noncreature spell while Balmor, Battlemage Captain only triggers on instants and sorceries.
- If you only have Third Path Iconoclast on the field, you *cannot* play Make Disappear and use casualty 1 with the intention of sacrificing the token you’d make off Iconoclast. That’s because Make Disappear needs to know what you’ll be sacrificing upon putting it on the stack and there is no token yet.
- You can aggressively play Shore Up in combat just to get the +1/+1 buff and Balmor, Battlemage Captain trigger.
Premium >
Enjoy our content? Wish to support our work? Join our Premium community, get access to exclusive content, remove all advertisements, and more!
- No ads: Browse the entire website ad-free, both display and video.
- Exclusive Content: Instant access to all exclusive articles only for Premium members, at your fingertips.
- Support: All your contributions get directly reinvested into the website to increase your viewing experience!
- Discord: Join our Discord server, claim your Premium role and gain access to exclusive channels where you can learn in real time!
- Special offer: For a limited time, use coupon code L95WR9JOWV to get 50% off the Annual plan!


